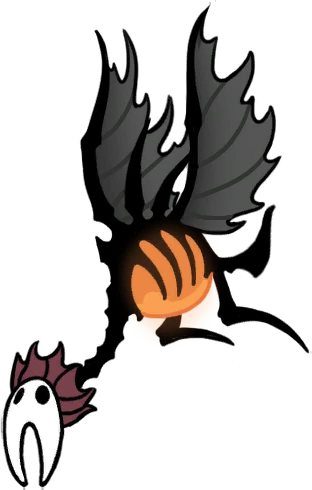
Forgotten Crossroads
| False Knight: Redirect Debris: During his "rage" phase (when he slams the ground repeatedly in the center), barrels fall from the ceiling. You can hit these with your nail to launch them at him for 10 extra damage each. | Gruz Mother: The Charging Lunge: When she pulls back slightly and lets out a cry, she is about to charge straight at you. Jump over her or pogo (down-strike) on her head to stay safe and deal damage simultaneously. | Brooding Mawlek:The Two-Hit Rule: Only land one or two hits before backing away. If you stay close for too long, he will perform a rapid claw swipe that is very difficult to react to at point-blank range. | Failed Champion: Double Damage: Almost all of his physical attacks and shockwaves deal two Masks of damage. Falling barrels still deal only one Mask, Increased Speed: His attack rate and movement speed are increased immensely compared to the physical version. |
|---|


Greenpath
| Hornet Protector: The Aerial Dive: If she’s in the air and aims her needle diagonally toward you, dash away just as she moves, The Needle Throw: She throws her needle and pulls it back. The needle doesn't travel the full length of the arena, so stay at the far edge to heal once. If you're close, jump over the needle and land a hit while she is stationary. | Massive Moss Charger: Pogo Method: Jump and pogo (down-strike) on its back. With good timing, you can land 2-3 hits before it submerges,The Counter: Do not jump. Instead, dash underneath it as it reaches its peak. It will land behind you, giving you a brief moment to land a hit or reposition. | Vengefly King: The Dive Attack: The King lets out a screech and dives toward you, The Counter: Pogo (down-strike) on its back as it passes under you. This is the safest way to deal damage and stays out of its collision box. | No Eyes: Spirit Wave: Her only attack is summoning wavy, ghost-like spirits that float across the screen, These spirits deal contact damage. |
|---|

Fungal Wastes
| Mantis Lords: Phase 1: The Drop: When they appear directly above you, side-step slightly and slash. No dash is needed if your timing is right, The Boomerang: If the projectile starts high, stay still. It will curve over your head,Phase 2:Center Control: Stay in the middle third of the platform. This gives you the most reaction time for their combined attacks. | Elder Hu: Ring Slam: He summons rows of ghostly rings that slam down. If you stay between them, you’re safe, Curtain Slam: He teleports to the center and summons rings starting from the edges that move toward the middle, Dash Slash: Using Dash Slash is effective for closing the gap when he teleports to the far side of the room. |
|---|

Fog Canyon
| Uumuu: Burst zap counter:Find a gap in the electricity and stand still. The bottom-most platforms are often safe spots during this attack, Targeted Zap Counter:Keep moving in a large circle or across platforms without backtracking. |
|---|
City of Tears
| Soul Master: Phase One: He teleports around the arena using homing Soul Orbs, a Dash attack, and a Slam (Desolate Dive) that creates shockwaves, Phase Two: After a "fake-out" death, he crashes through the floor. He will rapidly spam Altered Slams (no shockwaves, but larger impact area) followed by a stationary phase where he summons multiple orbs. | Watcher Knight: Ground Roll: They spin into a ball and roll across the floor. They are immune to Nail attacks while rolling but can be hit by spells. Jump over them, Bouncing Roll: A targeted jump that bounces twice. Dashing under them as they reach the peak of their bounce is the safest move. | Soul Tyrant: Clock Attack: He now summons six orbs instead of four. According to Hollow Knight Wiki, the best time to heal is in the center of the arena as the orbs spiral outward and back; they consistently miss this spot. | The Collector:One-Hit Summons: It is highly recommended to have your Nail upgraded (Channeled Nail or higher) or use the Fragile/Unbreakable Strength charm. This allows you to kill the enemies falling from jars in a single hit before they become overwhelming. |
|---|


Crystal Peak
| Crystal Guardian: The Laser Beam: He fires a straight beam from his hand toward your last known position. Jump and dash over him to land hits from behind, Ceiling Beams: When he screams, multiple beams rain from the ceiling. Focus strictly on finding a safe gap between them. | Enraged Guardian: Double Damage: This is the main threat; every beam attack now deals two Masks of damage, Higher Health: He has 450 HP (compared to the original's 280 HP), Aggression: His beams are fired significantly faster, leaving you with very small windows to react or heal. |
|---|


Resting Grounds
| Xero:Phase 1 (100% - 50% HP): He uses two nails. They fire one after the other, Phase 2 (Below 50% HP): He becomes agitated and summons four nails. The speed of his attacks also increases significantly. |
|---|
Royal Waterways
| Dung Defender: Dung Toss Tip: You can hit these balls with your Nail to knock them away or back at him, Burrow Counter: Use Desolate Dive or Descending Dark while he is underground. This will force him out of the dirt and leave him stunned for several seconds. | Flukemarm: Abyss Shriek / Howling Wraiths: This is the ultimate "Flukemarm Killer." Standing on the platform directly below her and spamming Abyss Shriek with the Shaman Stone equipped can end the fight in seconds, | White Defender: Corner Camping: If the screen becomes too cluttered with bouncing dung balls, the far corners of the arena are often the safest spots to reposition or attempt a quick heal, Abyss Shriek Windows: When he bursts out of the ground (Dung Eruption), he is extremely vulnerable to Abyss Shriek. |
|---|
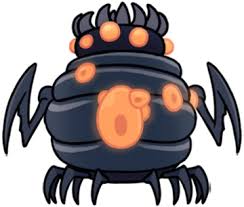
Deepnest
| Nosk: The Spot: Stand directly against the left edge of the center platform (tucked into the "corner" on the lower floor), Abyss Shriek / Howling Wraiths: Use this while you are tucked in the safe spot. Since Nosk passes directly over you, the multi-hit blast will shred his HP. | Galien: Stay Grounded: Galien’s scythe tracks your position and bounces off the floor. If you jump too much, the scythe will bounce higher and become harder to predict. Stay on the ground and only dash or hop when it's about to hit you, Ignore the Small Ones: Don't try to track the tiny scythes; focus entirely on Galien. |
|---|
Ancient Basin
| Broken Vessel: Kill the Spawns Immediately: The orange Infected Balloons that float into the arena are the biggest threat. They have very low HP; one hit from almost any Nail level or a tick of damage from Defenders Crest will pop them. | Lost Kin: Stay Grounded: Just like the regular version, Lost Kin punishes jumping. Dash away or underneath its leaps rather than trying to fly over them,The Stagger Window: When Lost Kin slumps over, you have time for exactly two heals if you start immediately. |
|---|

Kingdom's Edge
| Hornet Sentinel: Clear the Closest Ones: Do not run around trying to destroy every spike; it splits your attention and leaves you vulnerable. Only clear the ones in your immediate path to maintain a "safe zone", Jump Sparingly: Avoid jumping unnecessarily. If you are mid-air when she starts an aerial lunge, you lose your best dodging options. | Markoth:Don't Chase Him: Markoth’s movement is erratic. If you chase him, you’ll likely dash into a spawning nail. Let him float toward you, get one or two hits, and retreat. | Oblobbles: Don't Corner Yourself: Stay toward the center of the arena. If you get pinned against a wall while they are firing, you'll have no room to maneuver between the blobs, Micro-Dodging: The infection blobs travel in straight lines but bounce slightly. | God Tamer: The Roll: When the Beast curls into a ball to roll, simply double jump or dash over it, then get back on its back, Descending Dark: Use this when the Beast is about to land after a roll. The invincibility frames (i-frames) will protect you from contact damage, and the shockwave deals massive damage. |
|---|


Dirtmouth
| Troupe Master Grimm: Always Bow Back: When the fight starts and Grimm bows, do not hit him. Doing so will make him shriek and immediately trigger his difficult "Pufferfish" attack, One Hit at a Time: Don't get greedy. Focus on dodging first and only land one or two hits per opening. | Nightmare King Grimm: Flame Pillars: Stutter-step slowly toward him to keep pillars close together. After the 4th pillar begins, use Abyss Shriek or 2–3 nail hits, Dash Uppercut: Dash away or Shadow Dash through him. Stand slightly to the side of where he disappeared to safely avoid the falling fireballs.th> | Grey Prince Zote: The "Safe" Strategy: Spam Descending Dark: It provides significant i-frames that protect you from his poorly telegraphed leaps and massive shockwaves, If you find yourself cornered or about to be landed on, cast it to deal damage and avoid taking a hit. |
|---|

Howling Cliffs
| Gorb: Avoid Jumping: It is generally safer to stay on the ground. Moving slightly left or right is usually enough to clear the spears, The best time to heal is after the last ring of spears in a set has passed you. |
|---|
Queen’s Gardens
| Traitor Lord: Ground Dash: Shadow Dash through him.You’ll end up behind him for 1–2 free hits. Shockwave: creating a wall of white energy. Shadow Dash through the wall. This is why you must stay close; if you're too far away, your dash might run out before you clear the wall. | Marmu: The Corner Trap: Avoid getting pinned against the walls. If she bounces behind you, dash to the center of the arena to reset your positioning, Heavy Blow: This is one of the few fights where the Heavy Blow charm is actually useful, as it sends her flying much further back, giving you more reaction time. |
|---|

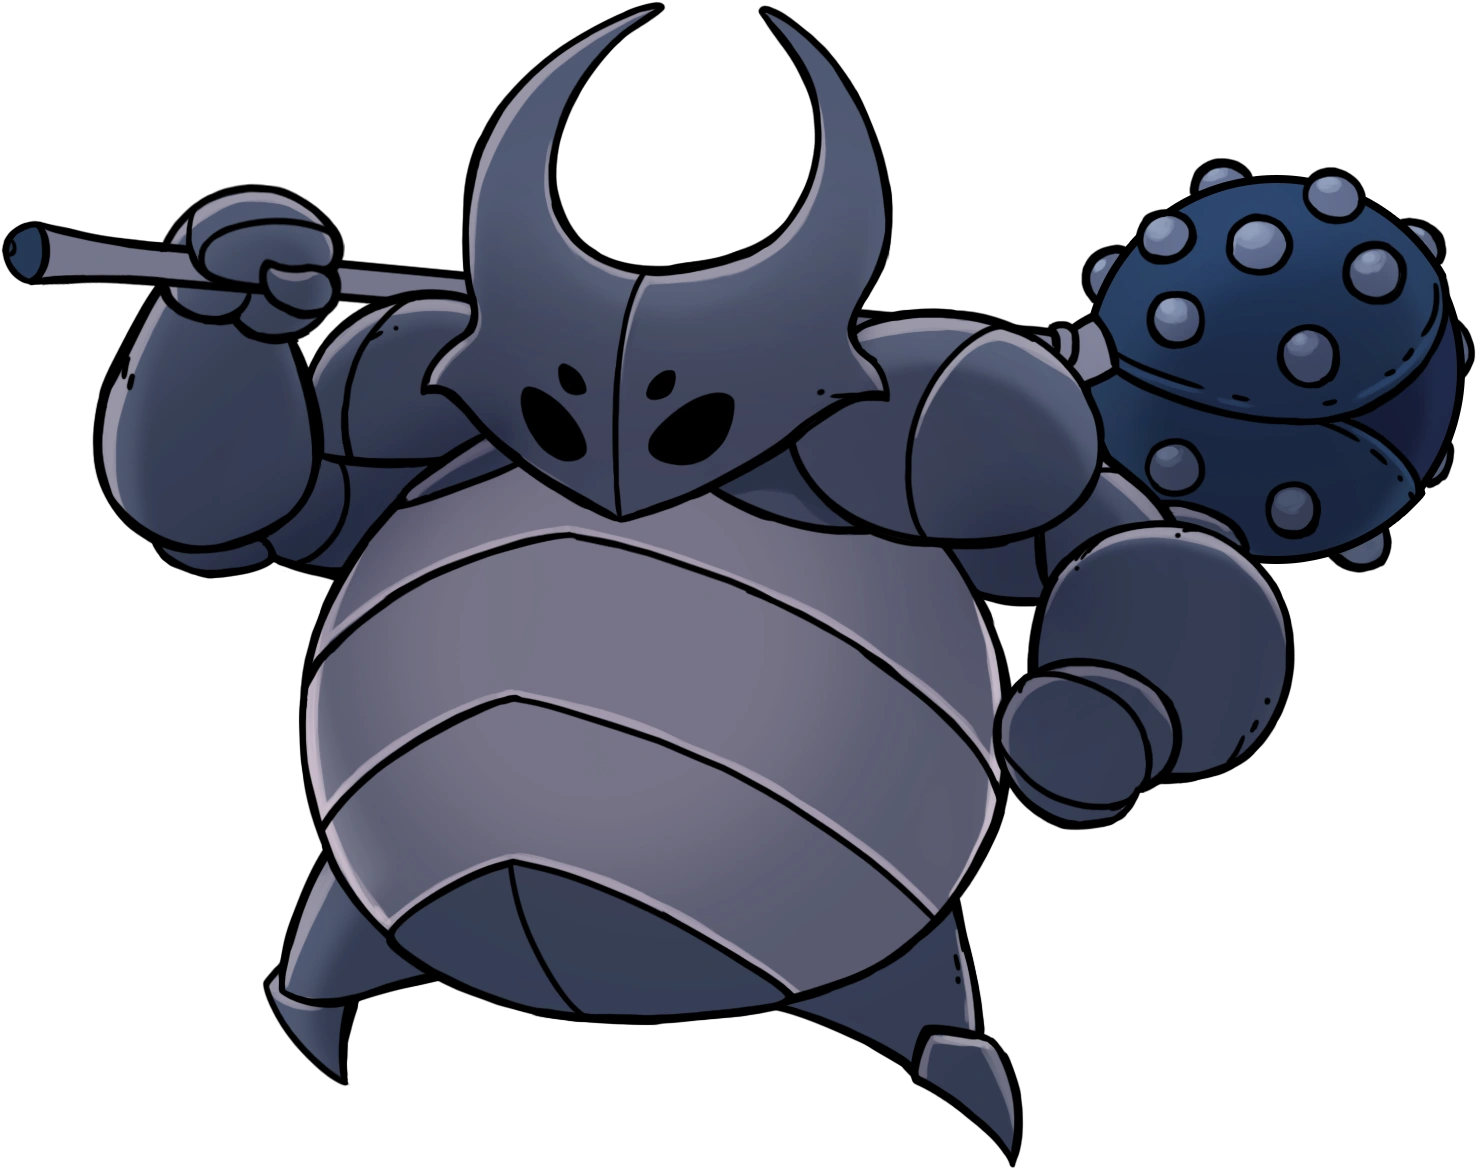
The Hive
| Hive Knight: Teleport Slash: Jump over him and pogo his head. He usually does this twice in a row, Spike Balls: Position yourself between the balls. The spikes always fire in a set 8-way "plus and cross" pattern. |
|---|

Temple of the Black Egg
| The Hollow Knight: Phase 1 and 2: The Prime Warrior: Fire Pillars: Small steps to stand between the geysers. This is a great window for Abyss Shriek, Orange Orbs: Stay on the ground and move slightly to dodge. If you're close, use Shade Soul to blast him, Phase 3 & 4: The Tragic Decline: The Self-Stab: THK will repeatedly stab himself. Do not stop attacking. He takes increased damage here, and it's the best time to end the fight quickly. | The Radiance: Phase 1: The Arena: She stays in the center. Use Abyss Shriek whenever she is directly above you, Phase 2: The Platforms: The floor disappears, Trying to jump across platforms to find her usually leads to falling into the void, Phase 3: The Climb: She fires a beam from above, Don't rush—wait for a beam to fire, then jump to the next platform immediately. |
|---|
Godhome
| Brothers Oro and Mato: Phase 1: The "Double Hit": He usually swings twice. Dash away for the first, then dash back in for a hit after the second. Phase 2: Stay Out of the Middle: Never let them get on both sides of you. Use your dash to keep both brothers on one side of the screen. | Paintmaster Sheo: Blue: Counter: Dash back to outspace the slam, then walk between the falling drops to get several nail hits in, Purple/Pink: Counter: Step back out of the slam's range, then dash in for a hit immediately after. Descending Dark to gain invincibility frames and ignore the falling droplets. | Great Nailsage Sly: Phase 1: Slash Combo Counter: Walk back during the first two slashes. After he leaps for the spin, walk or dash under him as he lands to land a hit, Cyclone Slash counter: Wall-jump high to the top of the arena or use Descending Dark for invincibility frames as he approaches, Phase 2: Strategy: Stand still in the center. When he dashes directly toward you, wait for him to pause, dash away to avoid the spin, then immediately turn back and strike him once. | Pure Vessel: Phase 1: Ground Slam & Spikes Counter: Move slightly to the side to avoid the slam. The spikes are wider at the base, so jumping makes them easier to avoid, Phase 2: Focus Counter: Dash out of the initial large circle. This is a rare window to cast Shade Soul from a distance, Phase 3: Void Tendrils Counter: This attack covers most of the arena. You must double-jump and dash toward him to stay above the tendrils. | Sisters of Battle: Aerial Slam Counter: Walk slightly to the left or right—no dash needed. This is the best time to land a quick nail hit, Dash and Lunge Counter: Simply jump and pogo (downstrike) on them. Because they move so fast, you can often pogo one sister and then immediately pogo the second as she follows up. | Winged Nosk: The Swoop Counter: Use a Great Slash or a well-timed upward strike. If you’re feeling bold, pogo on his head as he passes under you, Infection Burst Counter: Dash away or jump over the projectiles. Use Shade Soul to hit him while he’s stationary. | Absolute Radiance: Phase 1-3 (Ground): Stay grounded and use Abyss Shriek whenever she is directly above you for massive damage, Phase 4 (Platforms): Stay on the bottom-middle platform. Don't chase her; wait for her to teleport to the platforms closest to you to punish her, Phase 5 (The Climb): Accuracy of her beams increases as you climb. Jump away from the platforms and dash back to "bait" the beam's aim, Phase 6 (Final): Stay high and pogo on her head. This forces the orbs to spawn and fly upward off-screen, where they will immediately despawn. |
|---|